A youtube thumbnail blurry problem after upload is one of the most common complaints from creators in 2026. You designed a sharp thumbnail, uploaded it, and now it looks soft, pixelated, or degraded on YouTube. Here are every cause and the corresponding fix.
Key Takeaways
- The most common cause: uploading a thumbnail smaller than 1280×720 pixels
- youtube thumbnail pixelated issues are often caused by saving at too-low JPEG quality
- Uploading at exactly 1280×720 pixels eliminates most blurry thumbnail issues
- YouTube recompresses all thumbnails — you can’t prevent this, but uploading at optimal specs minimizes it
- low quality thumbnail youtube problems sometimes come from screen capture (screenshot) sources rather than proper exports
Cause 1: Thumbnail Dimensions Too Small
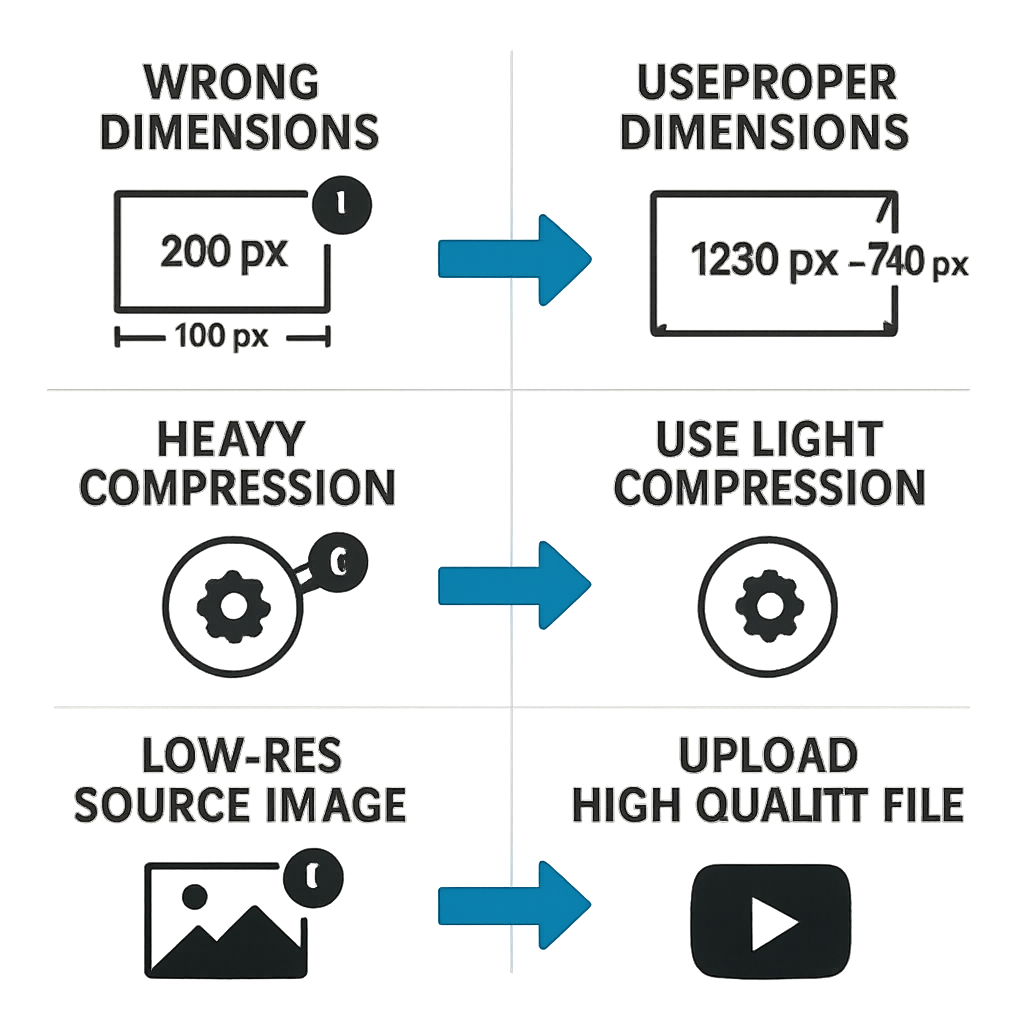
Problem: You uploaded a thumbnail at 640×360 or smaller. YouTube scales it up to fit its display containers, and upscaling a small image makes it look blurry.
Fix: Create your thumbnail at 1280×720 pixels minimum. This is YouTube’s officially recommended custom thumbnail size and ensures crisp display at all screen sizes.
How to check: Right-click your thumbnail file > Properties (Windows) or Get Info (Mac) > check the image dimensions.
Cause 2: Low JPEG Quality Setting
Problem: You saved the thumbnail as a JPEG at low quality (under 70%). JPEG compression at low settings creates visible artifacts — blocky patterns, color bleeding, and general softness.
Fix: Save thumbnails as JPEG at 80-90% quality. This keeps files well under YouTube’s 2MB limit while maintaining sharp image quality.
In Photoshop: File > Export > Export As > JPEG, Quality slider at 80-90. In Canva: Download > JPG (Canva uses high quality JPEG by default). In GIMP: File > Export As > JPG > set quality to 85.
Cause 3: YouTube’s Recompression
Problem: YouTube recompresses every uploaded thumbnail for delivery. Even a perfect image loses some quality in this process. This is unavoidable.
How to minimize YouTube’s recompression impact:
- Upload at exactly 1280×720 pixels (not larger, not smaller)
- Use JPG at 80%+ quality or PNG for lossless input
- Avoid already-compressed images as source material (don’t save-compress-save multiple times)
The recompression YouTube applies is fixed — you can’t control it. What you can control is how good your source image is. Start with the best possible input.
Cause 4: Designing at Screen Resolution but Wrong Size
Problem: You designed in Canva or another tool that exported at 2x or 3x resolution (e.g., 2560×1440 for a “Retina” export), but uploaded that larger image. YouTube downscaled it, which often looks fine, but sometimes the downscaling algorithm introduces softness.
Fix: Export at exactly 1280×720 pixels — not higher, not lower. Most design tools have an option to specify export dimensions, and Google’s web.dev image-sizing guide makes the same point about matching export size to display size.
Cause 5: Screenshotting Instead of Exporting
Problem: Many creators take screenshots of their design tool instead of properly exporting the file. Screenshots on standard displays are often captured at lower quality than a proper export.
Fix: Always use the Export/Download/Save As function in your design tool. Never use a screenshot (Print Screen, Cmd+Shift+3, or Snipping Tool) as your thumbnail source — even if the screenshot looks sharp on your screen, it’s typically lower quality than a direct export.
Cause 6: Source Photo Already Low Quality
Problem: The photo or image you’re using as the base of your thumbnail is low resolution. A 400×300 photo scaled to 1280×720 will always look blurry, regardless of what you do at export.
Fix:
- Use high-resolution source photos. Stock photos from Unsplash, Pexels, or Pixabay are typically 2000px+ wide.
- For personal photos, shoot at the highest resolution your camera or phone supports.
- For screen recordings or YouTube frame grabs, capture at 1920×1080 minimum.
Cause 7: CDN Cache Showing Old Thumbnail
Problem: After fixing a blurry thumbnail and uploading a new one, you still see the blurry version. This can be a CDN caching issue — your device or YouTube’s CDN is still serving the old image.
Fix:
- Check in an incognito/private browser window.
- Clear your browser or app cache.
- Wait 24-48 hours for full global CDN propagation.
For more on thumbnail change propagation, see YouTube Thumbnail Not Changing: How to Fix Cache and Update Issues.
How to Test Your Thumbnail Quality Before Upload
- Open the thumbnail file you plan to upload.
- Check pixel dimensions — must be 1280×720 or larger.
- Check file size — if it’s under 50KB, the quality setting was too low.
- Zoom in to 100% in an image viewer — check for JPEG artifacts around text and sharp edges.
- If everything looks good, upload.
blurry thumbnail fix: Quick Reference
| Symptom | Most Likely Cause | Fix |
|---|---|---|
| Soft/blurry overall | Thumbnail too small | Re-export at 1280×720 |
| Blocky patterns | Low JPEG quality | Re-save at 80%+ quality |
| Text edges look fuzzy | Low JPEG quality | Re-save at 80%+ or use PNG |
| Still blurry after fix | CDN cache | Wait 24hrs, check incognito |
| Background is blurry but subject isn’t | Intentional blur | May be normal design choice |
Conclusion
A blurry YouTube thumbnail is almost always fixable by exporting at 1280×720 at 80%+ JPEG quality from a proper design tool (not a screenshot). For the correct dimensions and file specifications, see the YouTube Thumbnail Size Guide and YouTube Thumbnail File Size Limit.